Understanding the Mera Peak Trek Map is crucial for a successful ascent of Nepal's highest trekking peak, standing at 6,476 meters. This guide provides a comprehensive overview of the climbing route, essential landmarks, and practical tips to aid your journey.
Mera Peak Climbing Route Overview
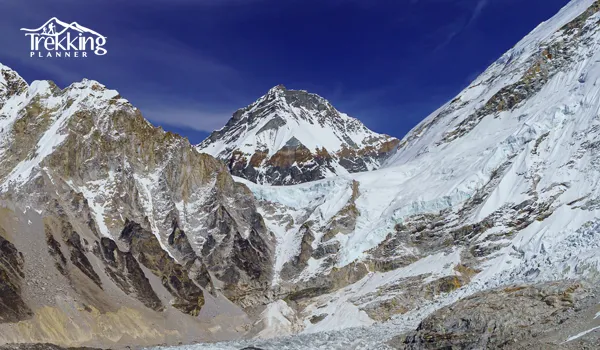
The ascent begins at Lukla, descending to Surke before ascending to Paiya (2,730m). The path then proceeds through diverse scenery, including forests and rock surfaces, to the summit of Mera Peak.
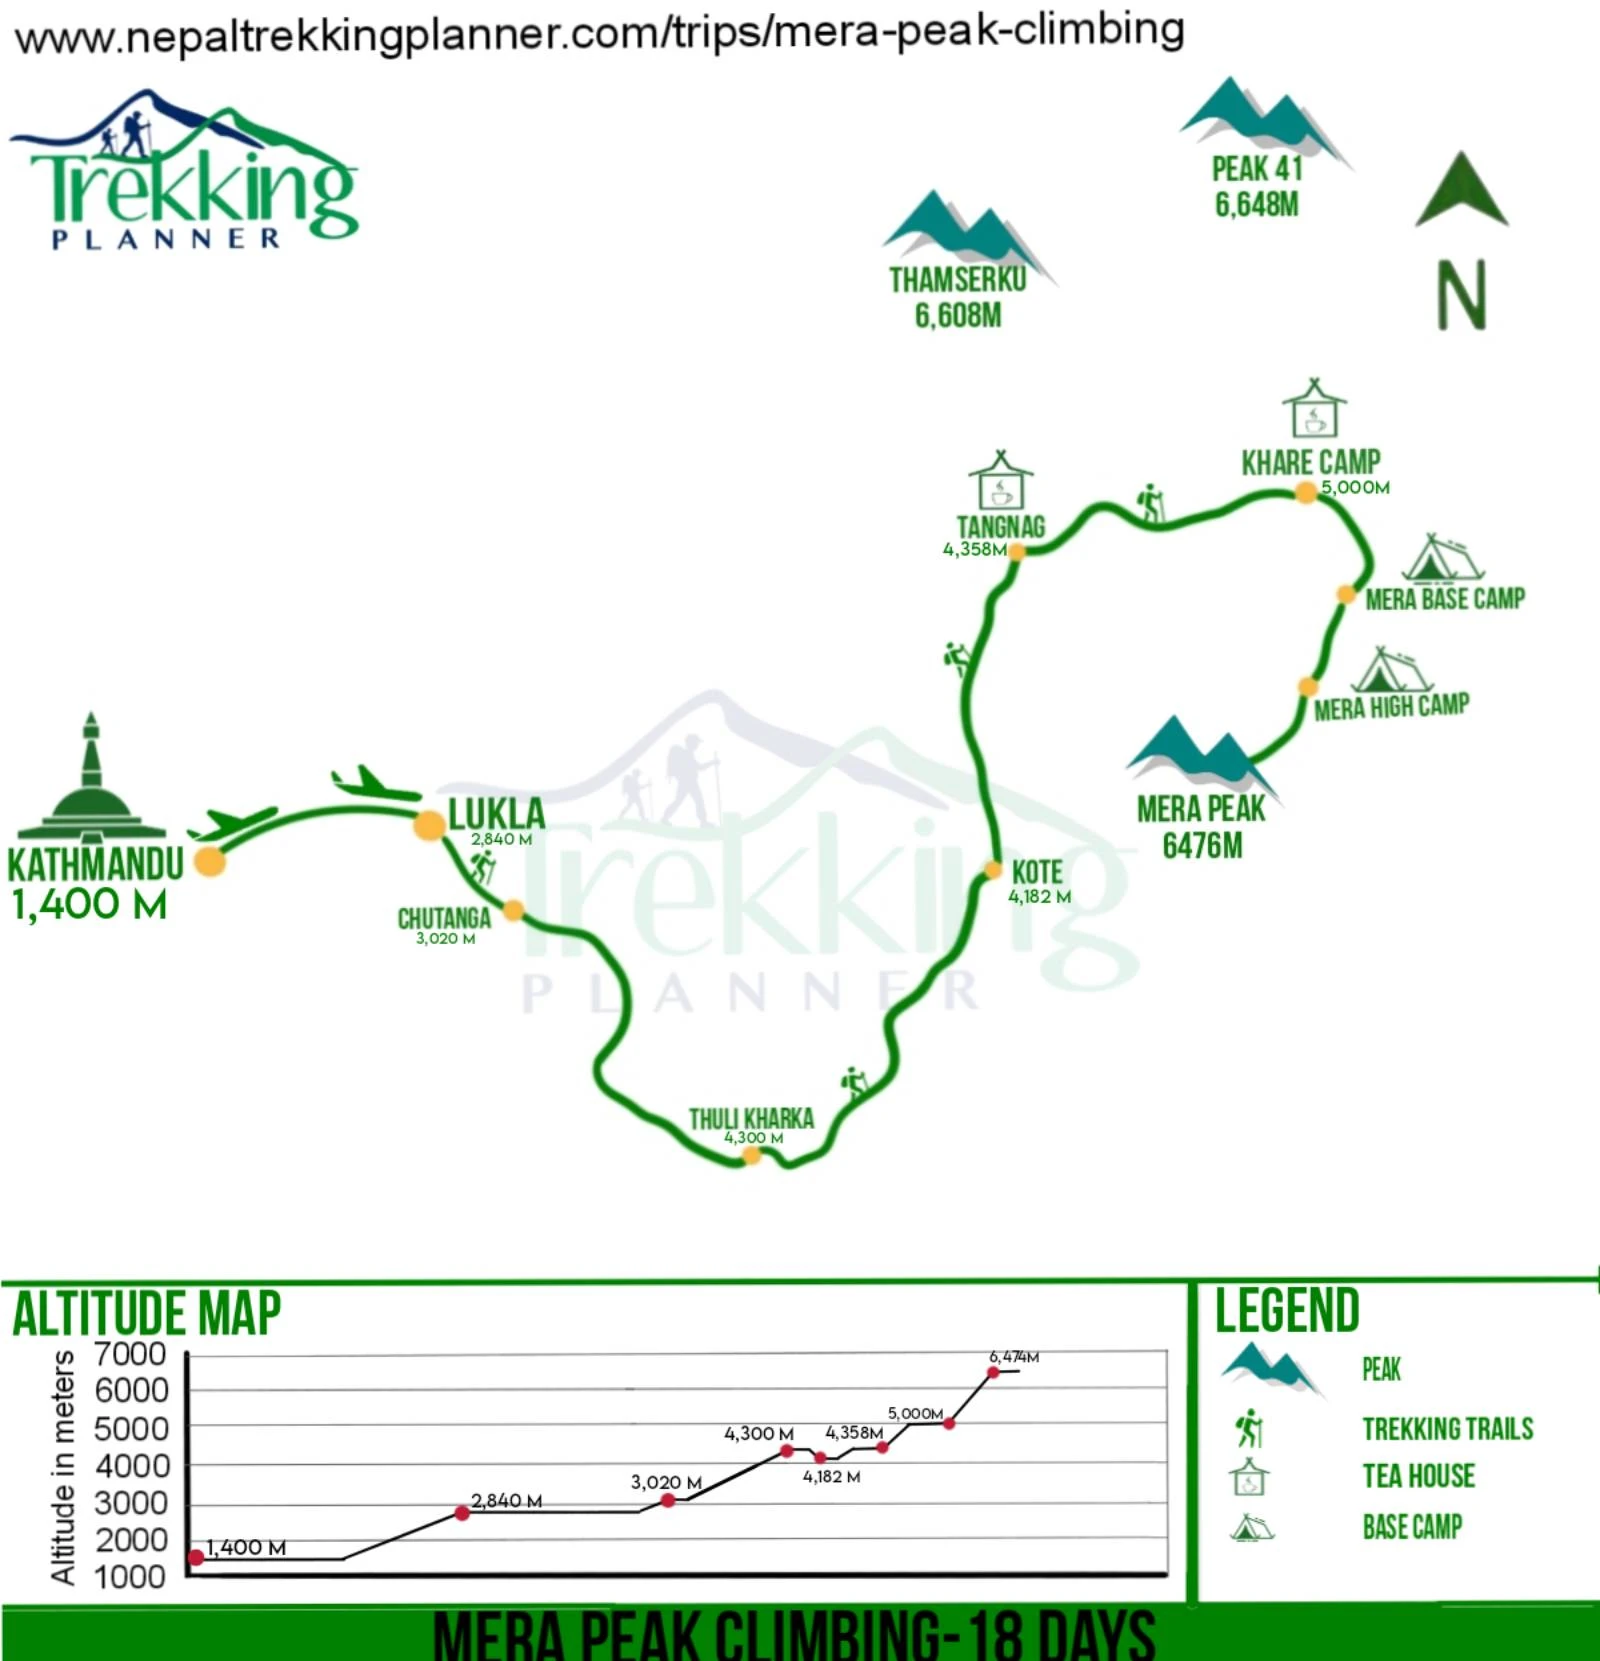
The trek begins at Lukla (2,860m) and leads climbers through breathtaking valleys, glaciers, and remote Sherpa villages. Below is the standard Mera Peak Route Map division:
Mera Peak Trekking Route Itinerary Highlight
Day 1: Arrival in Kathmandu (1,350m/4,429ft)
Day 2: Kathmandu Sightseeing and Trek Preparation
Day 3: Fly to Lukla (2,830m) and Trek to Paiya (Chutok) (2,730m)
Day 4: Trek from Paiya to Panggom (2,846m)
Day 5: Trek from Panggom to Ningsow (2,863m)
Day 6: Trek from Ningsow to Chhatra Khola (2,800m)
Day 7: Trek from Chhatra Khola to Kothe (3,691m)
Day 8: Trek from Kothe to Thaknak (4,358m)
Day 9: Trek from Thaknak to Khare (5,045m)
Day 10: Acclimatization and Pre-Climbing Training at Khare
Day 11: Trek from Khare to Mera High Camp (5,780m)
Day 12: Summit Mera Peak (6,476m) and Descend to Khare
Day 13: Contingency Day for Summit Attempt
Day 14: Trek to Thuli-Kharka (4,300 m)
Day 15: Trek too Lukla via Zatrwa La pass (4,610 m)
Day 16: Fly to Kathmandu and transfer to hotel.
Day 17: In Kathmandu free day for individual activities.
Day 18: Final International departure from Nepal.
Key Features of the Mera Peak Climbing Route Map
- Main Climbing Route: The main climbing path runs from Lukla through different landscapes while leading to Mera Peak summit and appears as a thick orange line on the map.
- Secondary Routes: Alternative paths within the area are shown through orange dotted lines which direct travelers to visit both Mera Peak Base Camp and Everest Base Camp.
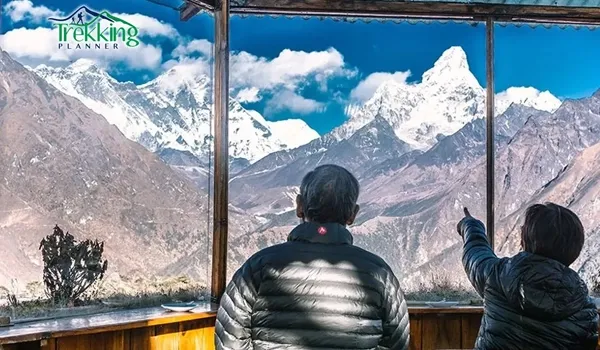
- Viewpoints: The Mera Peak High Camp and other scenic points where panoramas of the Himalayas can be seen are indicated by dual circular symbols.
Legend Interpretation
The legend in the map explains which symbols represent what information by using different colors to assist readers during navigation. To navigate accurately and stay safe all elements from the map need full interpretation.
Offline Accessibility
To overcome potential connectivity issues during the Mera Peak Climbing Route expedition it is best to carry the Mera Peak Climbing Route Map in offline format. The offline access to vital navigational data provides uninterrupted viewing of critical information during times of internet outage.
Preparation and Safety
- Acclimatization: Climb slowly to prevent altitude sickness. Take rest days while planning to acclimatize to increasing altitudes.
- Physical Fitness: Physical fitness is necessary for the trek. Perform training exercises with a focus on endurance and strength.
- Weather Conditions: You should check weather predictions and pick optimal times between March to May pre-monsoon season and September to November post-monsoon season for your trek.
Google Map of Mera Peak
For digital navigation, you can use Google Maps for Mera Peak Trekking. While Google Maps provides a basic outline of the trek, it is recommended to use topographic maps or GPS tracking devices for better accuracy.
How to Use Google Maps for Mera Peak Trekking?
- Download Offline Maps: Since there’s limited connectivity, download Mera Peak Trek Map Google Maps for offline use.
- Check Alternative Routes: Some variations exist, such as the Zatra La Pass route for experienced trekkers.
- Mark Key Landmarks: Save locations like Kothe, Khare, and Mera High Camp on your phone for easy navigation.
- Use GPS Tracking: Apps like Maps.me or Gaia GPS work better than standard Google Maps for high-altitude trekking.
For a detailed itinerary and expert guidance, refer to our official Mera Peak Climbing page: Mera Peak Climbing
Note: This content is tailored to provide an informative overview of the Mera Peak Trek Map, incorporating key details to assist climbers in their preparation and journey.